Jul 3, 2024
Tips for Low Light Photography Without Flash
Low light photography without flash can be challenging but also incredibly rewarding. Capturing stunning photos in dim conditions requires a bit of skill and some know-how. In this article, we’ll share the best tips for low light photography without flash, helping you take beautiful pictures even in the darkest settings.
1. Use a Wide Aperture
Let in More Light
First and foremost, using a wide aperture (low f-stop number) allows more light to enter your camera. This is crucial in low light conditions. Lenses with apertures of f/1.8 or f/2.8 are ideal for these situations. A wider aperture also creates a shallow depth of field, which can make your subject stand out against a blurry background.
2. Increase ISO Sensitivity
Boost Your Camera’s Sensitivity
Next, increasing the ISO sensitivity on your camera helps capture more light. However, higher ISO settings can introduce noise (graininess) into your photos. Modern cameras handle high ISO settings better than older models, but it’s still important to find a balance. Start with an ISO of 800 and adjust as needed, depending on the light and your camera’s performance.
3. Slow Down the Shutter Speed
Allow More Light Over Time
Slowing down your shutter speed allows more light to hit the camera sensor over a longer period. This can be very effective in low light situations. However, slow shutter speeds can result in blurry images if there’s any movement. To avoid this, use a tripod to keep your camera steady, especially for shutter speeds slower than 1/60th of a second.
4. Use a Tripod
Stabilize Your Camera
Using a tripod is essential for low light photography without flash. It stabilizes your camera, allowing you to use slower shutter speeds without introducing blur from hand movements. If you don’t have a tripod, find a stable surface to rest your camera on, such as a table or a wall.
5. Utilize Image Stabilization
Reduce Camera Shake
Many modern cameras and lenses come with image stabilization (IS) or vibration reduction (VR) technology. This feature helps reduce camera shake, allowing you to shoot at slower shutter speeds without blurring your images. Make sure to enable this feature if your equipment supports it.
6. Shoot in RAW Format
Capture More Details
Shooting in RAW format rather than JPEG gives you more flexibility in post-processing. RAW files retain more detail and information, which can be crucial when editing photos taken in low light. You can adjust the exposure, brightness, and noise reduction more effectively with RAW files.
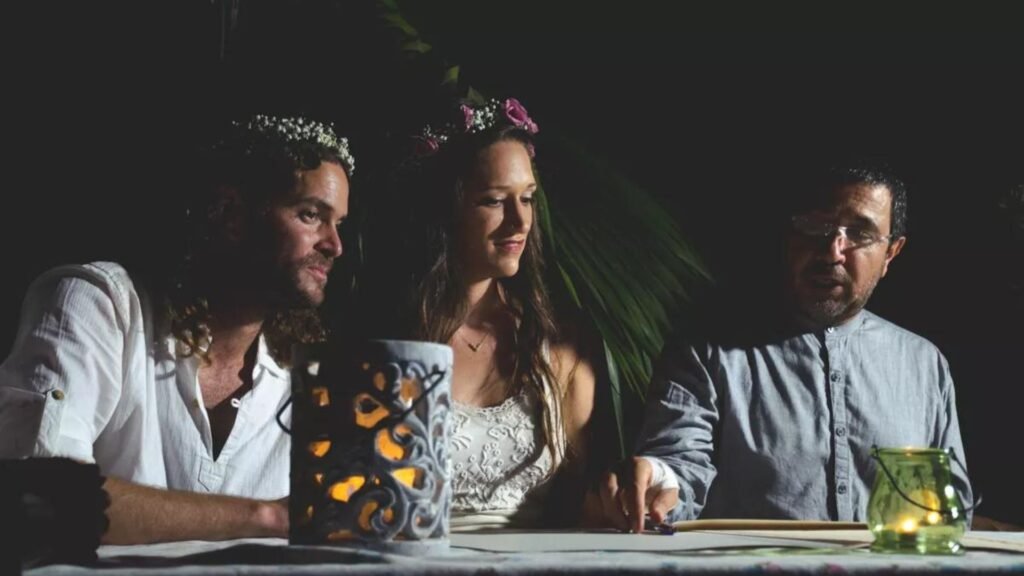
7. Find the Light
Seek Out Available Light Sources
Look for natural or artificial light sources to help illuminate your subject. Streetlights, candles, and even the moon can provide enough light to create interesting and moody photos. Position your subject near these light sources to take advantage of the available light.
8. Use Manual Focus
Ensure Sharp Focus
Autofocus can struggle in low light conditions. Switching to manual focus gives you greater control and ensures your subject is sharp. Use your camera’s focus assist features, such as focus peaking or magnification, to help you achieve precise focus.
9. Experiment with White Balance
Get the Right Color Balance
Low light conditions can sometimes result in unusual color casts. Experimenting with your camera’s white balance settings can help you achieve more accurate colors. Try different presets, such as tungsten or fluorescent, or adjust the white balance manually to match the lighting conditions.
10. Practice Long Exposure Photography
Create Stunning Effects
Long exposure photography can produce stunning results in low light. By keeping the shutter open for several seconds or even minutes, you can capture light trails, smooth water, and star-filled skies. Use a tripod and a remote shutter release or the camera’s self-timer to avoid camera shake during long exposures.
11. Post-Processing Techniques
Enhance Your Photos
Finally, post-processing is an essential part of low light photography. Use software like Adobe Lightroom or Photoshop to adjust exposure, contrast, and noise reduction. Pay special attention to reducing noise while preserving detail. Post-processing can turn a good low light photo into a great one.
Conclusion
In conclusion, low light photography without flash is all about understanding how to make the most of the available light and your camera’s settings. By using a wide aperture, increasing ISO sensitivity, slowing down the shutter speed, and utilizing a tripod, you can capture stunning photos in dim conditions. Additionally, finding light sources, using manual focus, and experimenting with white balance can further enhance your images. Don’t forget to shoot in RAW and take advantage of post-processing techniques to bring out the best in your photos. With practice and patience, you’ll be able to master low light photography and create beautiful images in any lighting situation.
More Details