Jul 3, 2024
Tips for Editing RAW Photography Files
Editing RAW photography files is essential for photographers who seek maximum control over their images. RAW files contain unprocessed data directly from the camera sensor, preserving the highest level of detail and flexibility for adjustments. Whether you’re new to RAW editing or looking to refine your skills, mastering these tips will help you achieve professional-quality results.
Understanding RAW Files
RAW files are different from JPEGs or other compressed formats because they retain all the original data captured by the camera sensor. This allows photographers to make precise adjustments to exposure, white balance, sharpness, and more without compromising image quality.
Essential Tips for Editing RAW Photography Files
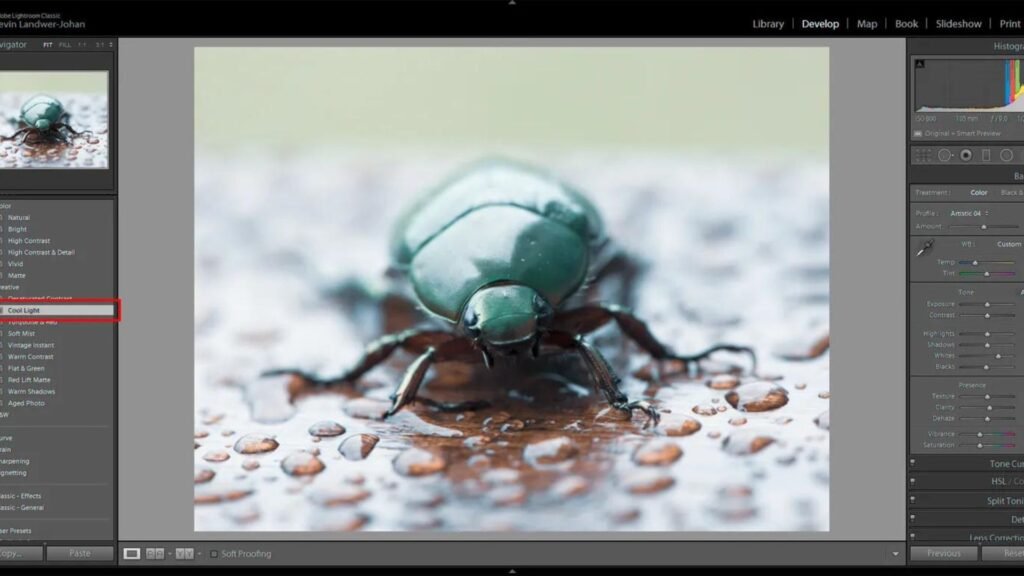
1. Utilize Professional RAW Converters
Choosing the right RAW processing software is crucial. Adobe Camera Raw, Capture One, and DxO PhotoLab are popular choices among photographers for their advanced editing capabilities and excellent image quality retention. These tools offer a range of adjustment options tailored specifically for RAW files.
2. Adjust Exposure and White Balance
Exposure: Correct exposure errors and fine-tune brightness levels using exposure sliders. RAW files allow you to recover details in overexposed highlights or underexposed shadows more effectively than JPEGs.
White Balance: Achieve accurate color representation by adjusting temperature and tint sliders. RAW files preserve more color information, making it easier to correct color casts and achieve natural-looking tones.
3. Enhance Details and Sharpness
Sharpening: Use sharpening tools to enhance image clarity and sharpness. Adjust sharpening amount, radius, and detail sliders carefully to avoid introducing noise.
Noise Reduction: Apply noise reduction selectively to smooth out grainy textures, especially in low-light or high ISO photos. Strike a balance between noise reduction and preserving image sharpness.
4. Fine-Tune Tone and Contrast
Tone Curves: Use tone curves to adjust contrast and fine-tune tonal range. Experiment with curves for highlights, shadows, and midtones to add depth and drama to your photos.
HDR Techniques: Merge multiple exposures or use HDR (High Dynamic Range) techniques to capture a wider range of tones and details in challenging lighting conditions.
5. Color Correction and Vibrancy
HSL Adjustments: Modify individual colors using hue, saturation, and luminance sliders. Refine color intensity and balance to enhance image vibrancy and visual impact.
Creative Color Grading: Experiment with split-toning or color grading techniques to add mood and atmosphere to your photos. Adjust color balances to evoke specific emotions or enhance storytelling elements.
6. Utilize Presets and Batch Processing
Presets: Save time by using pre-set editing profiles or creating your own. Apply presets to multiple photos to maintain consistency in style and color grading across your portfolio.
Batch Processing: Edit multiple RAW files simultaneously to streamline your workflow. RAW converters often include batch processing features that allow you to apply edits uniformly across selected photos, saving you valuable time.
Conclusion
Editing RAW photography files offers photographers unparalleled control and flexibility in post-processing. By mastering these tips and techniques, you can enhance image quality, correct exposure and color balance, and bring out the best in your photos. Experiment with different tools, practice regularly, and develop a personalized editing style to elevate your photography to new heights with RAW files. Embrace the creative possibilities that RAW editing provides and enjoy the process of refining your images to achieve stunning, professional results.
More Details