Jul 2, 2024
Best Practices for Night Sky Photography
Night sky photography offers a mesmerizing view of celestial wonders, from stars and galaxies to the elusive auroras. Capturing stunning images of the night sky requires patience, technical know-how, and an understanding of the unique challenges posed by low-light conditions. Here are some best practices to help you master the art of night sky photography.
Understanding Night Sky Conditions
Understanding the conditions of the night sky is crucial for planning your photography sessions. Monitor weather forecasts and astronomical charts to choose nights with clear skies and minimal light pollution. Dark moonless nights are ideal for capturing the Milky Way and faint celestial objects, while moonlit nights can enhance landscapes but may obscure faint stars.
Choosing the Right Equipment and Settings
Use a sturdy tripod and a camera with manual settings for stability and control over your shots. A wide-angle lens with a fast aperture (f/2.8 or wider) is recommended to gather more light and capture expansive views of the night sky. Set your camera to manual mode and adjust settings such as ISO (typically between 800 and 3200), shutter speed (20-30 seconds for stars), and aperture to achieve proper exposure and sharpness.
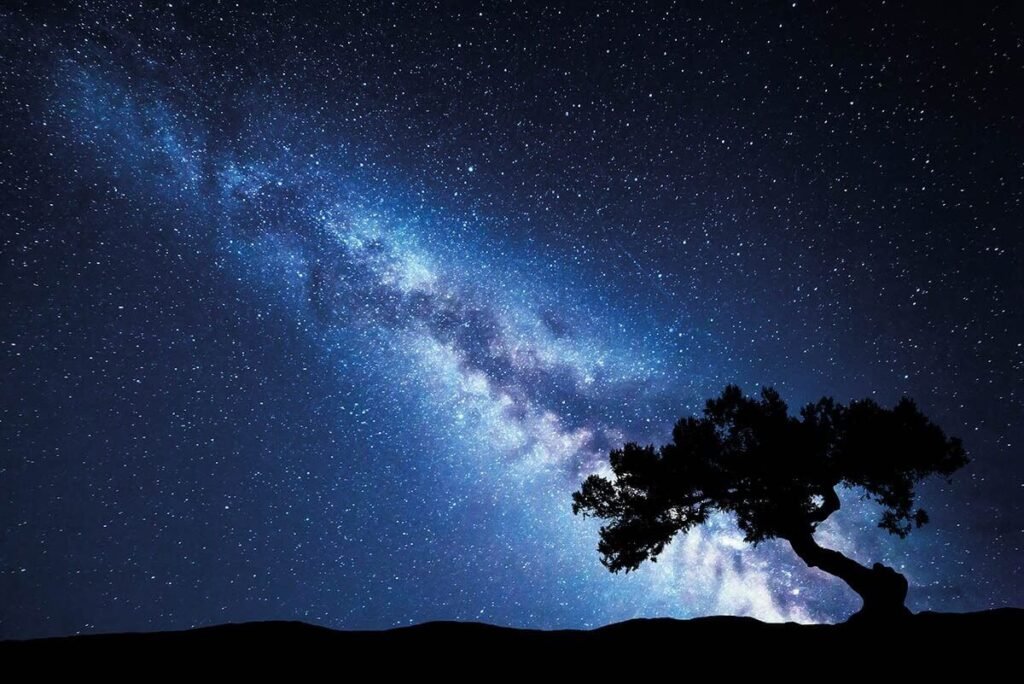
Locating and Framing Celestial Objects
Before shooting, familiarize yourself with the night sky and identify key celestial objects or constellations you want to photograph. Use astronomy apps or star charts to locate stars, planets, or nebulae. Frame your shots with interesting foreground elements, such as landscapes or silhouettes, to add depth and context to your night sky images.
Focus Techniques for Night Sky Photography
Achieving sharp focus in low-light conditions can be challenging. Use manual focus and set your lens to infinity (∞) or use the live view mode to magnify stars and adjust focus manually. Test different focus points and apertures to ensure stars and distant objects appear crisp and well-defined in your photos.
Long Exposure and Star Trail Photography
Experiment with long exposures to capture star trails and create mesmerizing patterns of celestial motion across the night sky. Use a remote shutter release or timer to minimize camera shake during long exposures. Stack multiple exposures in post-processing to enhance star trails and reduce noise for cleaner, more detailed images.
Dealing with Noise and Post-Processing
Noise can be a challenge in night sky photography due to high ISO settings. Use noise reduction techniques in post-processing software to minimize graininess while preserving image detail. Adjust the white balance and colour temperature to enhance the natural hues of the night sky, from cool blues to deep purples and vivid greens of auroras.
Safety and Considerations for Night Sky Photography
Ensure your safety and respect local regulations when venturing out for night sky photography. Dress warmly and bring essential gear such as flashlights, extra batteries, and a first aid kit. Be mindful of wildlife and natural hazards in remote locations, and always leave no trace to preserve the beauty of natural landscapes.
Experimentation and Enjoyment
Night sky photography is a blend of art and science that rewards experimentation and creativity. Embrace trial and error to discover unique compositions and techniques that showcase the splendour of the cosmos. Enjoy the process of capturing fleeting moments of celestial beauty and sharing your passion for night sky photography with others.
Conclusion
In conclusion, mastering night sky photography requires patience, technical skill, and a deep appreciation for the wonders of the universe. By understanding night sky conditions, choosing the right equipment and settings, and employing effective techniques for focus and exposure, you can capture breathtaking images that evoke the mystery and grandeur of the cosmos. Embrace the challenges and joys of night sky photography to create stunning visual narratives that inspire awe and wonder in viewers.
More Details